QC Scan Worksheet
The QC Scan Worksheet allows for quick, easy scanning of a Lot No. to pull QC Document information and perform bulk QC functions from within one screen.
How To: Create a QC Scan Batch
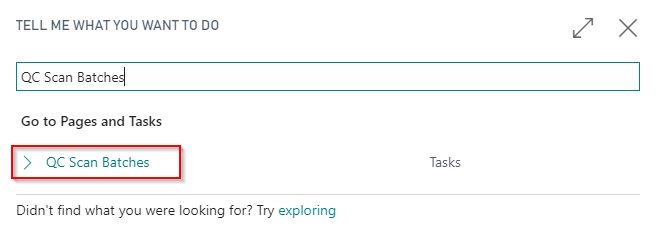
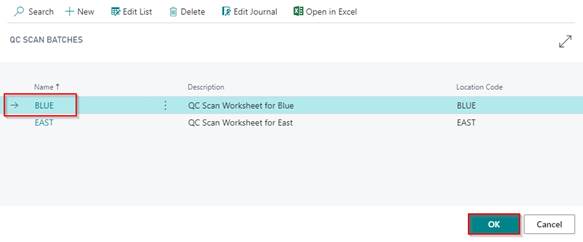
In the search box, enter QC Scan Batches and click on the related link.
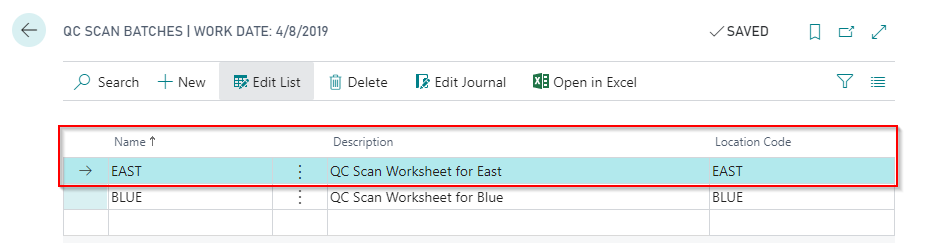
Click New or click into a new line to begin creating a new QC Scan Batch.
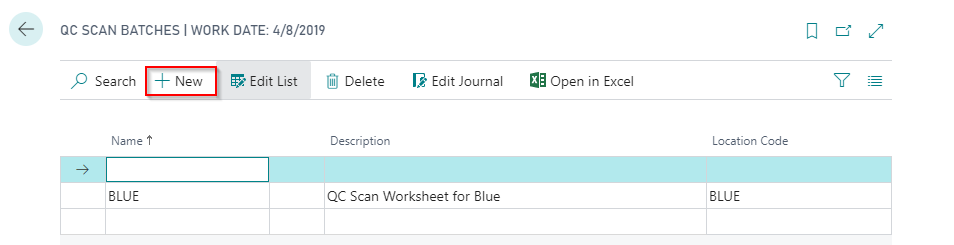
Enter a Name, Description, and Location Code that will be assigned to the QC Batch Journal for use.
How To: Use QC Scan Worksheet and Create an External Sample
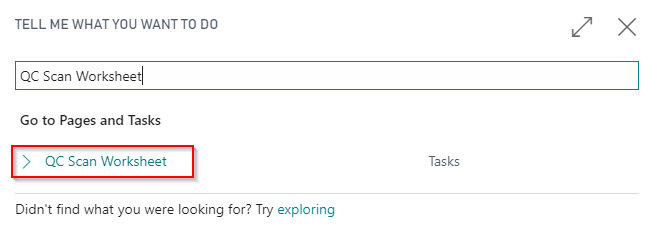
In the search box, enter QC Scan Worksheet and click on the related link.
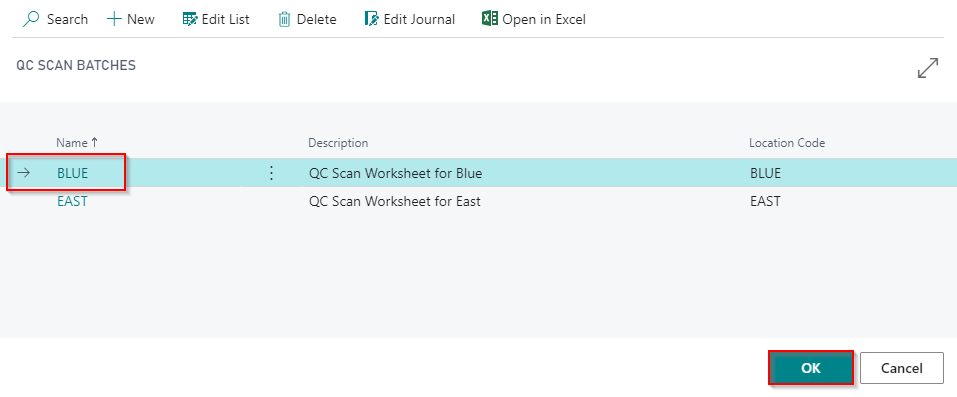
Select the QC Scan Batch with the Location Code the External Sample will be provided from and click Edit Journal.

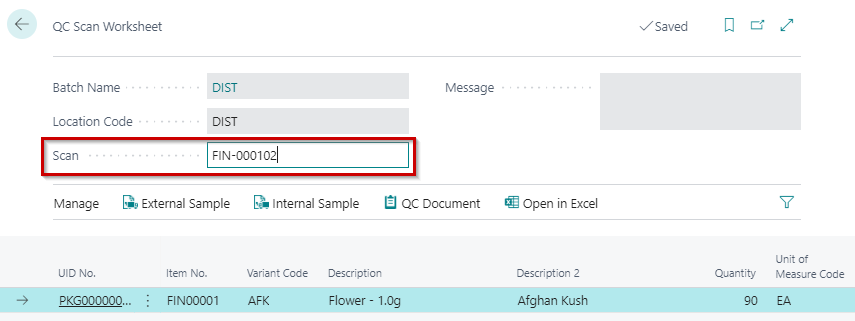
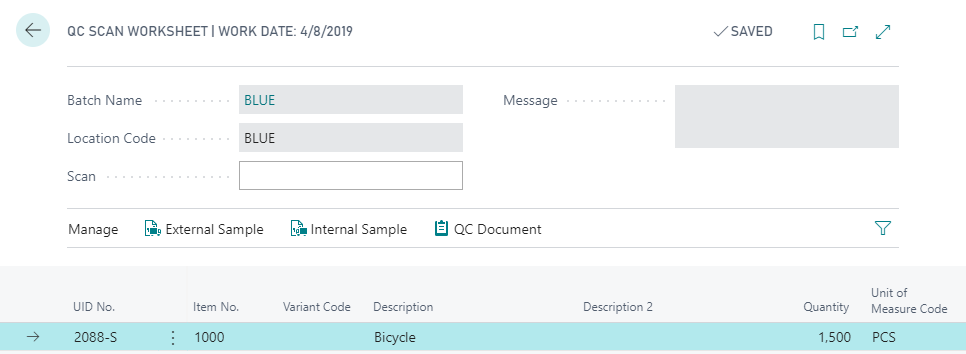
In the Scan field, scan or enter the Lot No. If successful, then a new line will be inserted with all relevant information about the Lot No. in the Journal for processing
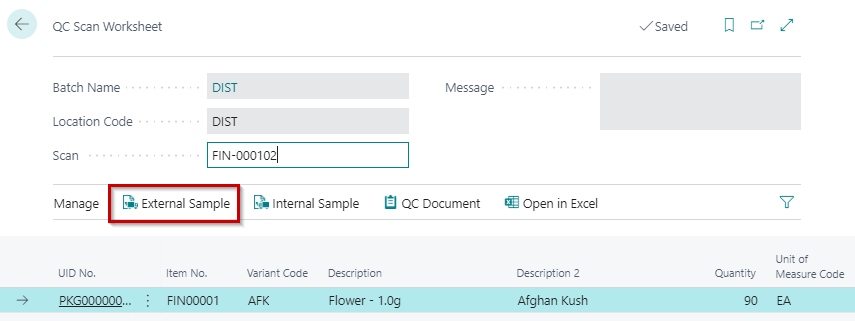
Click External Sample to begin the creation of the External Sample.
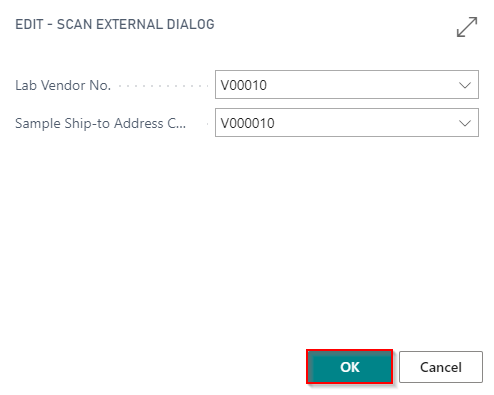
A new dialogue box will appear for the selection of the Lab Vendor No. and Sample Ship-to Address for the External Sample process. Click OK once populated.

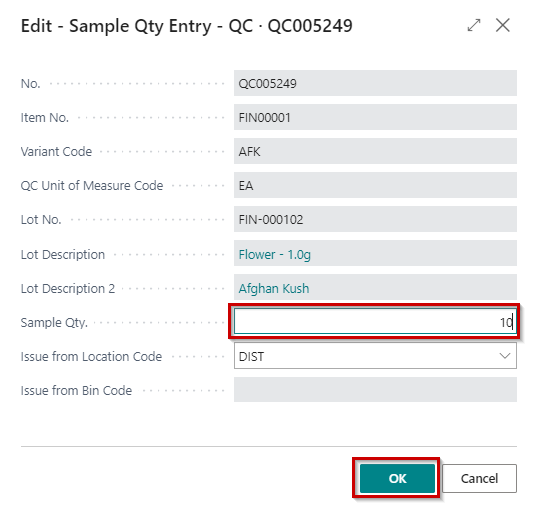
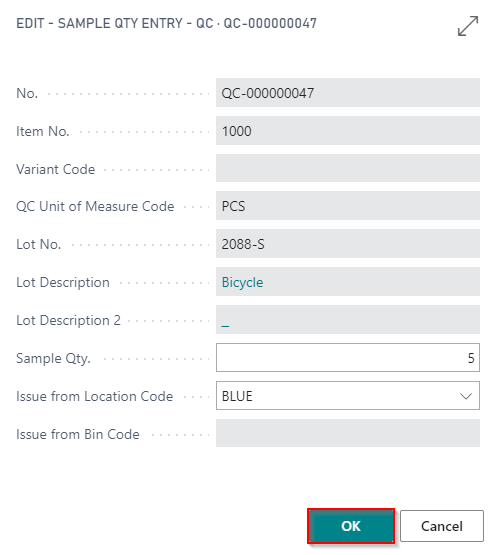
Enter the Sample Qty. and the Issue from Location Code will default based on the Location Code assigned to the QC Scan Batch. Click OK once complete.
Note
If multiple scanned Lot Numbers are inserted in the Journal, then you will be prompted for each Lot No. to enter the Sample Qty.
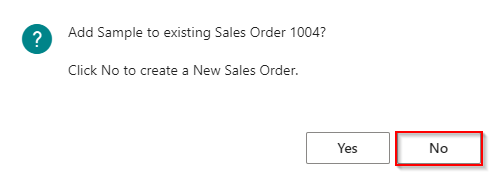
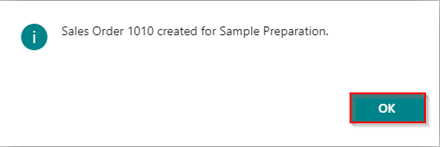
Based on the QC Setup settings, you may be prompted if you want to add the Sample to an existing Sales Order or create a new Sales Order. In this example, a new Sales Order will be created by clicking No.
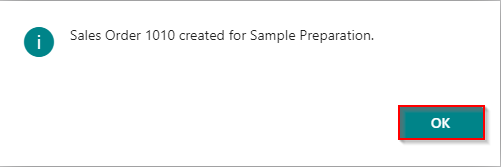
A confirmation dialogue box will appear after the Sample has been created. Click OK to proceed.
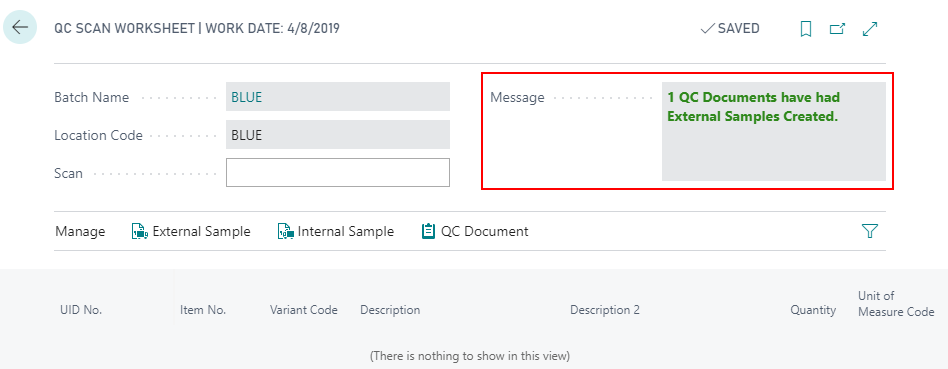
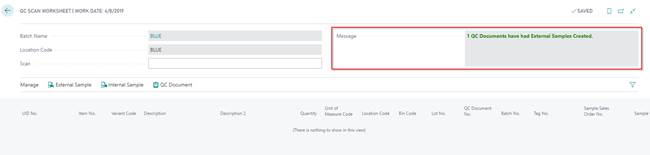
The Journal should now be empty and in the Message dialogue box there should be a success message for the creation of the External Sample.
How To: Use QC Scan Worksheet and Create an Internal Sample
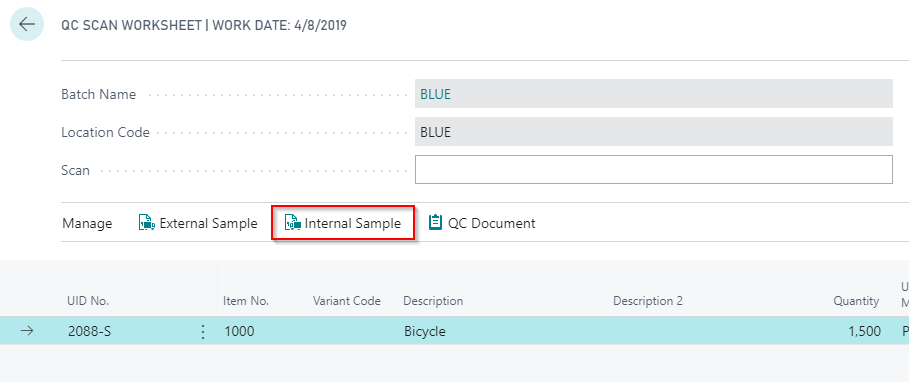
In the search box, enter QC Scan Worksheet and click on the related link.
Select the QC Scan Batch that will be used within the QC Scan Worksheet and click OK.
In the Scan field, scan or enter the Lot No. If successful, then a new line will be inserted with all relevant information about the Lot No. in the Journal for processing.

Click Internal Sample to begin the creation of the Internal Sample.
A new dialogue box will appear for the selection of the Lab Vendor No. and Sample Ship-to Address for the External Sample process. Click OK once populated.
Enter the Sample Qty. and the Issue from Location Code will default based on the Location Code assigned to the QC Scan Batch. Click OK once complete.
Note
If multiple scanned Lot Numbers are inserted in the Journal, then you will be prompted for each Lot No. to enter the Sample Qty.
Based on the QC Setup settings, you may be prompted if you want to add the Sample to an existing Sales Order or create a new Sales Order. In this example, a new Sales Order will be created by clicking No.

A confirmation dialogue box will appear after the Sample has been created. Click OK to proceed.
The Journal should now be empty and in the Message dialogue box there should be a success message for the creation of the External Sample.
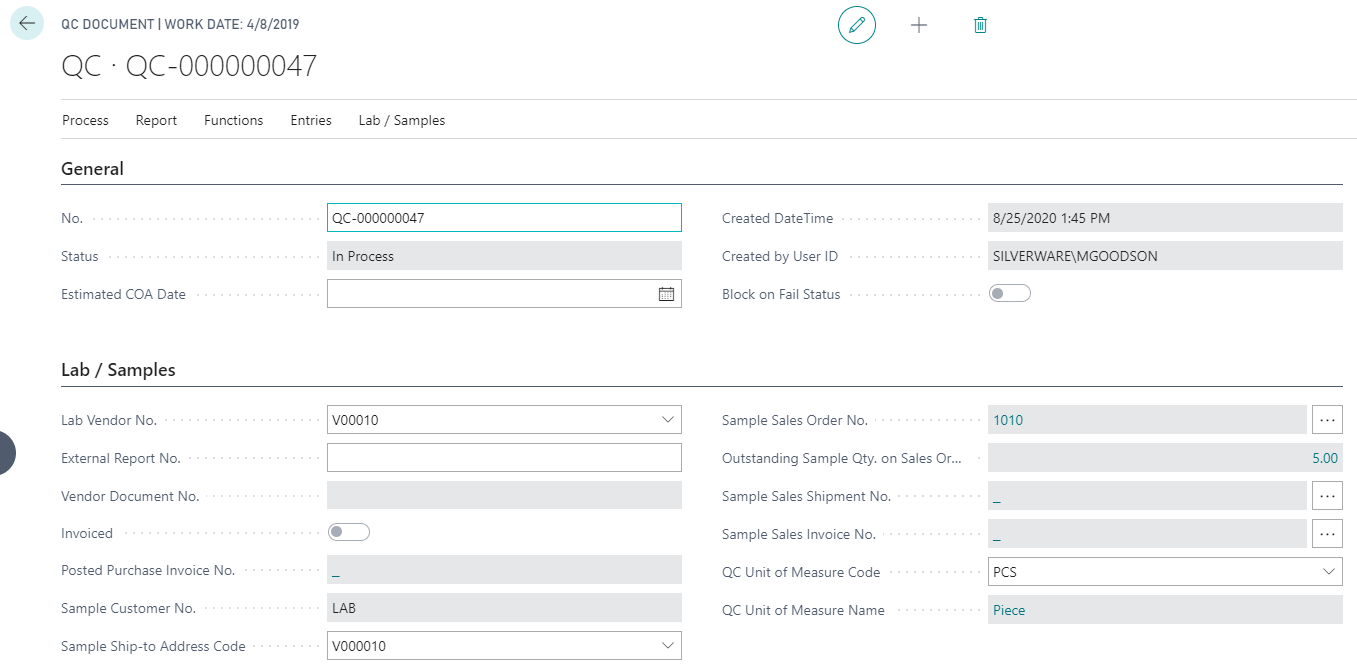
How To: Use QC Scan Worksheet and View QC Document
In the search box, enter QC Scan Worksheet and click on the related link.
Select the QC Scan Batch that will be used within the QC Scan Worksheet and click OK.
In the Scan field, scan or enter the Lot No. If successful, then a new line will be inserted with all relevant information about the Lot No. in the Journal for processing.
Click QC Document to view the QC Document information relevant to the scanned Lot No.
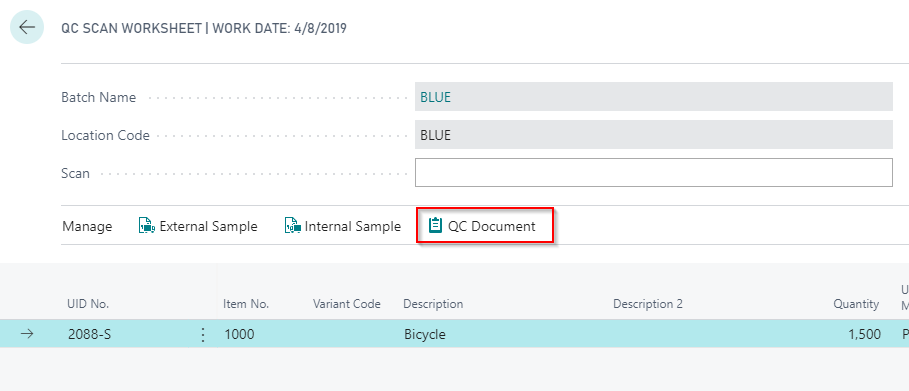
Once selected, the QC Document will open for use.